Deep-frying a buttermilk-soaked, spatchcocked chicken in olive oil gives you incredibly juicy flavorful meat with a crunchy exterior.
Recipes
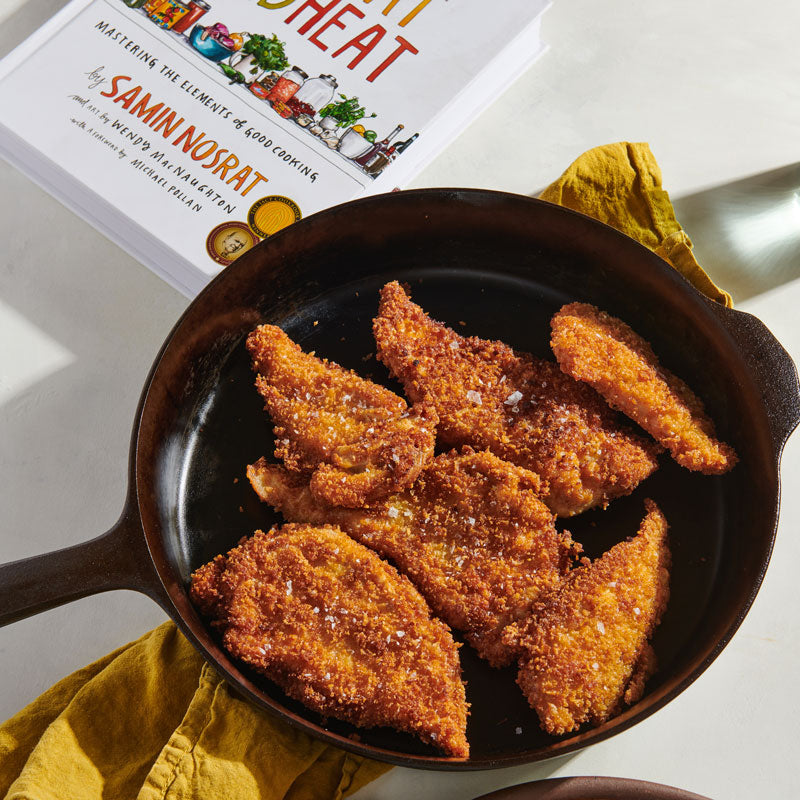
Buttermilk Soaked Deep Fried Chicken
This recipe features a deep-fried, buttermilk-soaked, spatchcocked chicken fried in olive oil. The result? Juicy, flavorful meat with a dark, nutty, crispy crust that’s simply unbeatable.
I prefer to deep fry in a cast iron pan— it distributes heat better than any other pan and the heavy base reduces the risk of oil splashing.
There’s debate about frying with olive oil due to concerns about carcinogens, but here’s the key: keep the temperature below its smoke point (375°F). This prevents any harmful compounds while delivering incredible flavor. Plus, frying at a lower temp ensures fully cooked, tender chicken with perfectly crispy skin.
Fried Chicken with Root Vegetables in a No.16
Recipe: Buttermilk Soaked Deep Fried Chicken
Ingredients
- 1 whole chicken, spatchcocked
- 2 cups buttermilk
- 1 tablespoon salt
- 1 teaspoon black pepper
- 1 teaspoon cayenne pepper (optional for heat)
- 4 cups olive oil
- 2 cups fresh herbs like rosemary or thyme
- 4 bay leaves
- 2 cups root vegetables cut into 1' chunks
Tools
No.12 Field Skillet or No.16 Field Skillet
Resources
The Field Method for Cast Iron Care
Instructions
Prepare and Marinate the Chicken:
In a large bowl or resealable bag, combine the buttermilk, salt, and cayenne (if using). Submerge the chicken in the buttermilk mixture, ensuring it’s fully coated. Let it marinate in the refrigerator for at least 4 hours, preferably overnight.
Remove the chicken from the buttermilk and place the chicken breast side down on a cutting board. Use kitchen shears or a serrated knife to cut along both sides of the backbone to remove the backbone, then flip the chicken over and press down on the breastbone to flatten.
Prep the Oil and Coating
Pour olive oil into a deep, heavy-bottomed skillet or Dutch oven, I recommend the Field No. 12 or No. 16 skillet, either of which should be large enough to fit the whole spatchcocked chicken. Heat the oil to 350°F (163°C), which is ideal for chicken to cook evenly without burning or causing the oil to smoke and generate unhealthy compounds in the oil itself.
Fry the Chicken
Shake the chicken and let it drain to remove as much of the buttermilk from the surface of the chicken as possible – this will reduce the risk that the chicken will spatter when it cooks. Carefully place the spatchcocked chicken into the hot oil, skin-side down. Use tongs or a spatula or a bacon weight to press it down gently so it cooks evenly. Keep a meat thermometer nearby while you fry the chicken to monitor the oil temperature and make sure that the oil does not overheat. Fry for about 10–15 minutes per side, until the internal temperature reaches 165°F (74°C) and the coating is golden brown and crispy.
When you flip the chicken, add all the fresh herbs, the chopped root vegetables, and the bay leaves to the frying oil. Allow them to cook alongside the chicken for the last 10-15 minutes.
Rest and Serve
Remove the chicken and vegetables, and place on a rack or towels to drain the excess oil.
Garnish with fresh rosemary or thyme, if desired.
Seasoning Rating: Best
If there's one thing that cast iron pans love the most, it's grease! After the oil has sufficiently cooled down, pour it into a separate container (you can use it to fry again!). If there is debris stuck to your pan use a chainmail to dislodge it. Take a paper towel and wipe up any remaining oil, leaving your pan with just a light sheen.
Follow the Field Method to keep your cast iron in good shape!
Seasoning Ratings:
Best—These dishes are the best options for building resilient seasoning, and surefire choices for getting tricky pans back on track.
Better—The best way to keep your skillet in great shape is to cook frequently, and cast iron-friendly dishes like these are your bread and butter.
Safe—These recipes won't strip seasoning away from your pan, but won't really add any, either.
OK—Be sure to clean up promptly. Recipes with this rating might feature acidic ingredients which can affect seasoning if not washed soon after cooking.